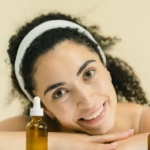
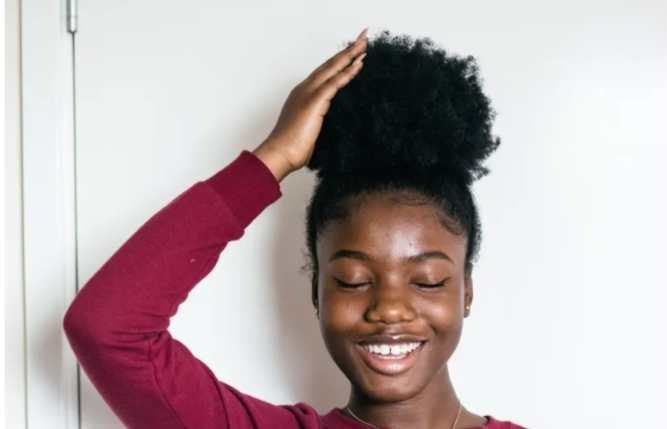
Are you tired of using regular conditioners that leave your hair feeling dry? Or is your hair simply outgrowing your current routine? If hair butters are the solution you seek, then I’m glad you clicked on this post – we have just the thing for you!

I started using hair butters as part of my natural hair routine when I noticed that my regular leave-in conditioners weren’t cutting it anymore. As someone whose number 1 hair goal is to grow my natural hair past my shoulders (after getting a big chop), I know quite well that if I want to get to the next level, I’ll have to step up my game. And that’s exactly what my DIY hair butter recipe will help you do too.
In this article, we’ll dive into a simple recipe for DIY hair butters, while exploring their general benefits, ingredient benefits, customization tips, and lots more.
Ready to step up your natural hair game? Keep reading to find out how!
Disclaimer: This post may contain several affiliate links. This means that we may earn a small commision from your purchase, at no additional charge to you.
What Are the Benefits of A DIY Hair Butter?
DIY hair butter offers numerous benefits to natural hair. First off, the use of natural ingredients allows for gentle, chemical-free hair care which is particularly beneficial for individuals with hair damage, sensitive scalps, or anyone who values clean beauty as a whole.
Another significant benefit is customization. By creating a DIY hair butter, you essentially have the freedom to choose specific blends and ingredients to help tailor your hair butter in a way that meets your individual hair type and needs.
And finally, DIY hair butters are cost-effective, making them a great solution for those passionate naturals who want to show their natural hair some love (whithout of course, breaking the bank).
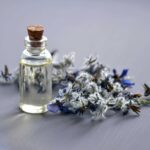
Here’s the Full Ingredients List for Your DIY Hair Butter
- ½ cup of Shea Butter
- ¼ cup of Cocoa Butter (or any other butter of choice)
- ¼ cup of Coconut Oil
- 2 tablespoons of Avocado Oil
- 2 tablespoons of Jojoba Oil
- 2 tablespoons of Olive Oil
- ½ cup of Rosemary Leaves (or any other preferred herbs)
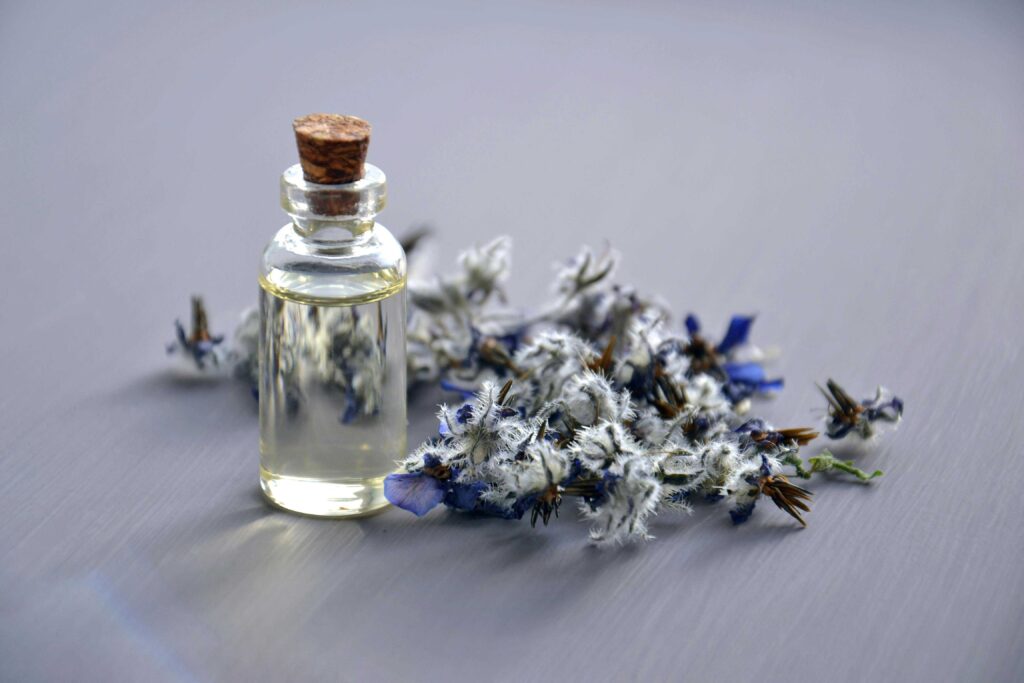
- 10 drops of your preferred Essential Oil
- Emulsifier (measurements vary based on type)
Note: These measurements equate to two medium-sized jars of your DIY hair butter. Remember that you can always adjust the measurements, as well as your choice of butters, herbs, and carrier oils to suit your personal preferences and hair type.
In addition to the above ingredients, you will also need the following tools:
- A large/medium-sized bowl
- 2-3 cups of boiled water
- A glass jar or container
- Measuring cups/spoons
- A whisk, electric mixer, or blender to whip
- And finally, a clean workspace
How to Make DIY Hair Butter for Natural Hair Growth – Steps Involved
Step One:
Boil two to three cups of water in pot or kettle. This water will be used to create a double boiler effect, gently melting the butters into the right consistency.
Step Two:
Once the water has reached boiling temperature, carefully place a heat-resistant bowl containing the Shea Butter and Cocoa Butter into the pot. Ensure the bowl doesn’t touch the bottom of the pot.
This double boiler setup allows gentle melting of your butters, as high heat from melting directly may destroy some of the natural beneficial qualities.
Turn your heater to a medium setting and stir occasionally as your Shea Butter and Cocoa Butter melt into each other.
Step Three:
When the Shea and Cocoa butter mixture is completely melted, bring it down from the heat and set aside to cool.
In another bowl, add your carrier oil mix (coconut, avocado, jojoba, and olive oils) and your rosemary leaves (or other herbs of choice) and heat on low temperature in the boiling water for 15-30 minutes.
Use a cheesecloth to strain the mixture after cooling and add your extract to the Shea and Cocoa butter mix you kept aside. This is also the point where you add your emulsifier (if desired).
Alternative Method: If you’re looking to simplify your process, you have the option to add your herbs and carrier oils directly to your melted butters and let the mixture steep. However, our recommended procedure provides better herb infusion and easier straining. You’re free to choose whichever option you prefer.
Step Four:
Once your mixture is cooled and solidified, use a hand mixer, electric beater, or whisk to whip until it becomes light and fluffy.
Depending on what you’re using to mix, you’ll want to adjust your whipping time to get the best results.
- Hand Mixer: 3-5 minutes
- Electric Beater: 2-4 minutes
- Whisk: 5-7 minutes
After whipping, add your preferred essential oil and mix gently to distribute evenly.
Step Five:
Ahh… the final step!
Transfer your freshly-whipped hair butter into a clean, airtight container. Store in a cool, dry place, avoiding direct sunlight, moisture, and heat.
This DIY hair butter has a high shelf life of 6-12 months and 1-2 years if refrigerated.
What Benefits Do the Listed Ingredients Add to Our DIY Hair Butter?

Our DIY hair butter for natural hair growth is packed with a powerhouse of ingredients that hydrate, moisturize, soothe, and protect your hair and scalp. Let’s explore their individual benefits!
- Shea Butter: Is rich in vitamins A and E, as well as fatty acids. These help to hydrate and moisturize the hair and scalp while promoting hair growth, reducing breakage, and repairing damaged hair in the process.
- Cocoa Butter: Is rich in antioxidants and fatty acids which nourish and moisturize the hair and scalp, improve hair elasticity to reduce breakage, and protect strands from environmental damage.
- Coconut Oil: Is rich in medium-chain triglycerides (MCTs), which help the hair absorb moisture much more easily. It also contains antioxidants that fight against environmental stressors and reduce the appearance of frizz on the strands.
- Avocado Oil: Promotes hair growth by stimulating blood flow to the scalp. It’s also rich in fatty acids and vitamins A, D, and E which work together to protect, nourish, and repair damaged strands.
- Jojoba Oil: Is the closest in similarity to the natural sebum produced by the scalp, making it an excellent choice for natural hair care. It promotes healthy hair growth by balancing the scalp’s natural pH while moisturizing and conditioning the strands.
- Olive Oil: Moisturizes and conditions the hair and scalp. It promotes healthy hair growth by protecting strands against damage and breakage. It is also rich in antioxidants and fatty acids.
- Essential Oils: Every essential oil has its specific benefits. But overall, essential oils have antimicrobial properties that help maintain a healthy scalp. They are also really powerful in circulating blood flow to the scalp – this promotes relaxation, stress relief, and healthy growth of long, luscious strands.
- Emulsifiers: Combine oil and water-based ingredients together to create a stable and consistent mixture. They prevent the separation of oil and water as your product sits (especially in humid temperatures) and they also prevent your DIY hair butter from turning out too greasy.
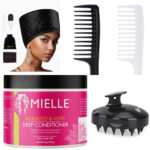
FAQs On DIY Hair Butter
1. How do I Use a Hair Butter?
Hair butters can be used in two simple ways: either as a moisturizing deep conditioner or a nourishing leave-in treatment.
For a basic leave-in treatment, apply a generous amount to the ends of your damp hair, working your way up gently to the scalp. Detangle and style as desired.
For more intense moisture, use as a deep conditioner by applying to the strands and heating mildly with the use of a steam cap.
2. Do I Need Preservatives for this Hair Butter?
Preservatives are recommended for a longer shelf life (beyond 6-12 months). However, they are not necessary as most readers will be making this DIY hair butter for personal use and they will likely finish before the estimated shelf life.
3. How do I Choose an Emulsifier?
Deciding on a specific emulsifier should not be a hard decision. Some popular natural options include:
- Beeswax
- Candelilla wax
- Glycerin
- Lecithin
- Vitamin E oil
Be sure to conduct thorough research as it will enable you to choose the best option for your hair type and goals.
4. What Other Herbs and Carrier Oils Can I Use?
When making a DIY hair butter for natural hair growth, there are a lot of herbs and carrier oil options to explore. Here are some highly recommended ones:
Herbs:
- Chamomile
- Hibiscus
- Lavender
- Horsetail
- Bhringraj
- Amla
Carrier Oils:
- Grapeseed oil
- Sweet almond oil
- Argan oil
- Castor oil
- Hemp seed oil
- Sunflower oil
- Macadamia oil
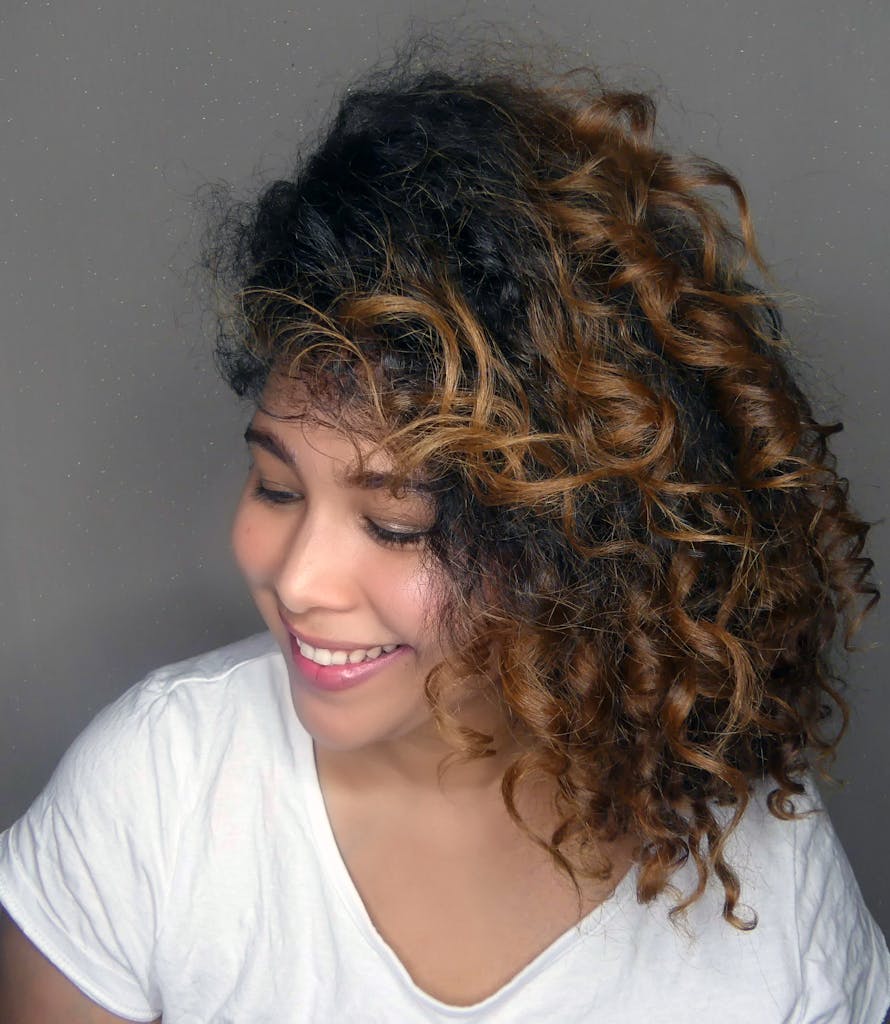
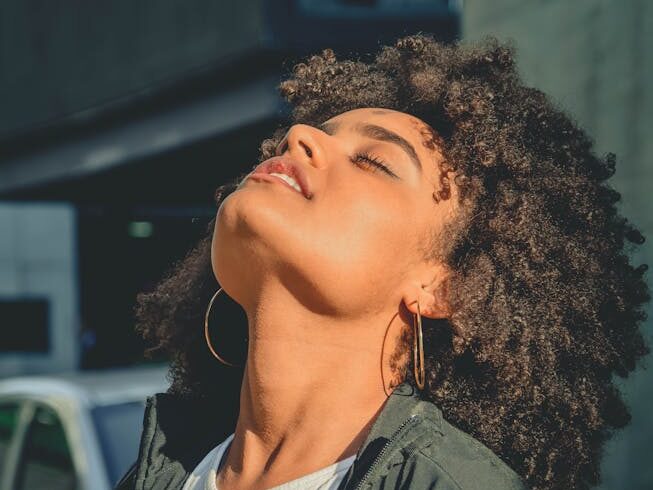
5. What can I expect from Using a Hair Butter?
When using a DIY hair butter on your natural hair, you can expect the following:
- Deep moisture and nourishment
- Improved hair elasticity and strength
- Improved hair growth and length retention
- Protection from environmental stressors
- Enhanced shine and manageability
However, it is important to note that results may vary depending on hair type, hair porosity, and frequency of use. Additionally, using large amounts of product at a time will result in a slightly greasy feeling, so be sure to apply sparingly.
Conclusion
This DIY recipe is a lovely addition to your natural hair routine, providing deep moisture, nourishment, and protection to your luscious strands. Plus, making your own hair butter helps save money and ensures full control over the ingredients you put in your hair as well as the benefits you reap as an effect.
We hope you enjoyed this article and found the inspiration to create your own DIY hair butter. Shae our favorite recipes and experiences in the comments below and let us know what else you’d love to see on the blog.
Ready to make your very own DIY hair butter? Head over to Amazon.com or use the links above to purchase your ingredients.
See you in our next article… Until then, happy mixing and happy hair care!